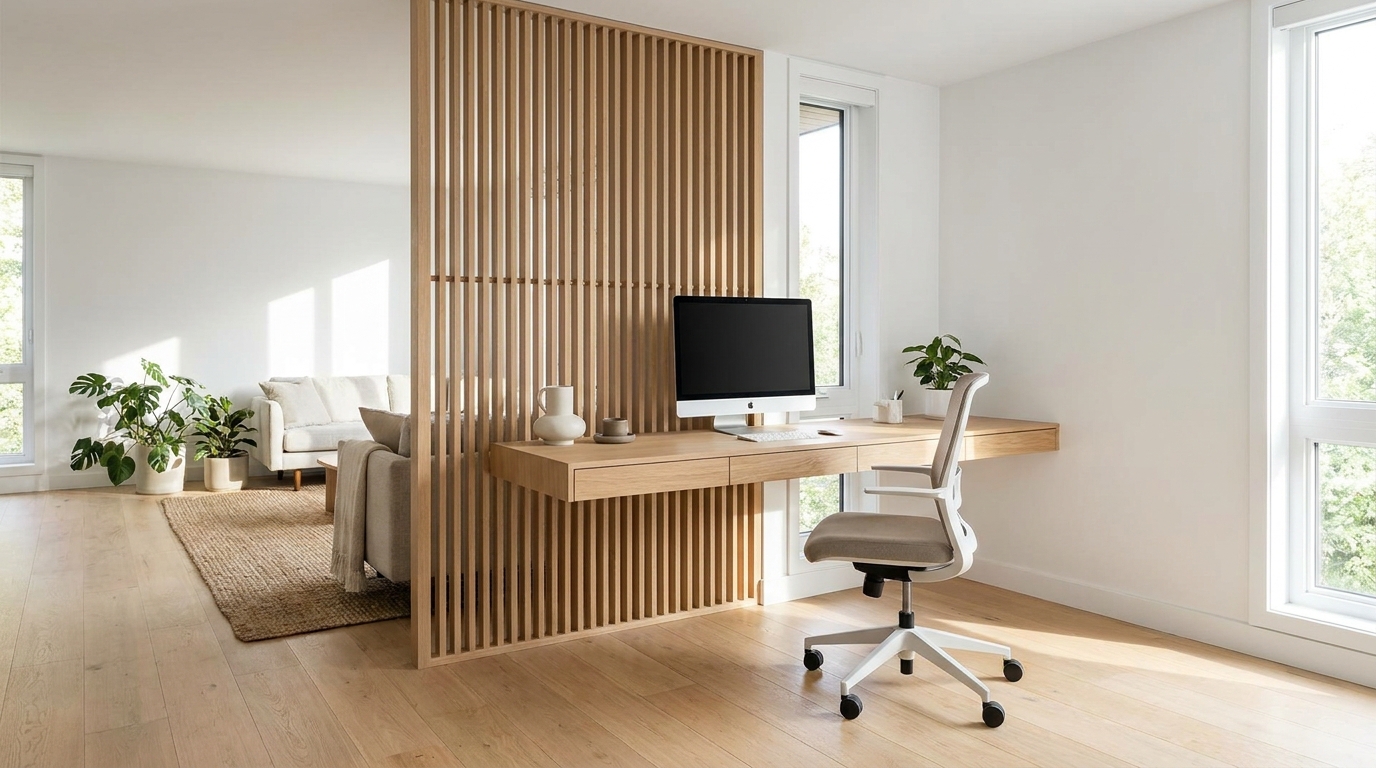
A wood slat room divider is a permanent architectural feature, which means its finish has to live with the floors, baseboards, and door casings already in the room for years, not just look good in a single photo. Get the wood tone wrong and even a well-built divider can read as a mismatched afterthought. Get it right, and it looks like it was planned into the room from the start. Matching a wood slat room divider to existing floors and trim comes down to understanding undertones, deciding whether to blend or contrast, and knowing which finish in a given lineup solves which problem.
Start With Undertone, Not Color Name
Two finishes can both be described as "warm brown" and still clash badly once they're standing next to each other in the same room. The mismatch almost always comes down to undertone — the underlying hue beneath the surface color, usually red, orange, yellow, or gray.
Oak flooring milled in the last decade skews one of two ways: warm honey-gold tones with strong visible grain, or cooler, more muted tones that lean gray-taupe. Walnut, by contrast, carries a natural cool-to-neutral undertone with deep chocolate coloring that can shift toward purple-brown in certain light. Placing a warm honey-oak floor next to a cool walnut divider without a plan can produce a visible temperature clash, even though both are technically "brown wood."
Before choosing a finish, stand in the room at the time of day it gets used most and look at the floor and trim in that actual light — not a paint chip or a product photo. Natural light reads undertones very differently than a phone flash or a showroom's overhead bulbs.
The Two Legitimate Strategies: Blend or Contrast
There isn't one correct way to pair a divider with a room's existing wood tones. Homeowners and designers generally choose one of two strategies, and both work when done deliberately.
Strategy One: Tonal Blending
Blending means choosing a divider finish that sits close to the room's dominant wood tone, so the divider reads as part of the architecture rather than a separate piece of furniture. This is the safer choice in smaller rooms or in spaces with a lot of existing wood — cabinetry, exposed beams, wide-plank flooring — where introducing a second, competing tone would create visual noise.
For a room with warm, honey-toned oak floors, a White Oak finish is usually the closest tonal match, since it shares the same golden undertone family even at a different depth. For a room with darker walnut furniture or cool-toned engineered flooring, Dark Walnut blends most convincingly.
Strategy Two: Deliberate Contrast
Contrast means choosing a divider finish that reads as a distinct, intentional accent rather than a match — a strategy that has become more common in Scandinavian and Japandi-influenced interiors, where a single striking material is used to draw the eye and define a zone. A Walnut divider against pale white oak flooring, or a crisp Paintable finish in matte black or white against natural wood floors, creates a clean line of separation that reads as a design choice rather than a mismatch — provided the rest of the room's palette supports it.
The rule of thumb: contrast works when the divider is the only strong secondary tone in the room. If the space already has two or three different wood tones competing (dark trim, mid-tone floors, a lighter dining table), adding a fourth contrasting tone usually reads as clutter, not intention.
Trim and Millwork Matter as Much as Flooring
Floors get most of the attention in these decisions, but baseboards, door casings, and window trim sit at eye level and are just as visible next to a divider as the floor beneath it. A common mistake is matching a divider finish to the floor while ignoring painted white trim nearby — which is usually fine, since white trim is neutral — but matching to floor while ignoring stained wood trim can produce the same undertone clash described above, just higher up on the wall.
If a room has stained wood trim in a different tone than the floor, treat the trim as the primary reference point for anything installed at standing height, since a slat divider spans floor to ceiling and will sit directly beside both surfaces simultaneously.
Working With PrimoPanels Finishes Specifically
PrimoPanels' SKANDINAVIA wood slat room dividers come in five finish options, each suited to a different matching strategy: Walnut and Dark Walnut (pre-finished veneer, cool-to-neutral undertones, best for contrast against light floors or blending with existing dark wood), White Oak (pre-finished veneer, warm golden undertone, the most common blending choice for oak and honey-toned floors), Unfinished/Stainable (plywood veneer that can be custom-stained to match an exact existing tone), and Paintable (high-density MDF, for homeowners who want a solid color rather than a wood-tone match at all).
The Unfinished/Stainable option is worth calling out specifically for anyone whose existing floor or trim doesn't line up cleanly with one of the pre-finished options — it's the only path to an exact custom match rather than a close approximation. Samples in every finish ship free, which is the most reliable way to check an undertone match, since screens and product photography routinely shift warm tones cooler or vice versa.
Don't Skip the In-Room Sample Test
However confident a match looks on screen, wood tone decisions should be confirmed with a physical sample held against the actual floor and trim, in the room, in daylight. This is standard practice for any permanent architectural installation — the same due diligence a homeowner would apply to matching new hardwood to existing flooring, or choosing a stain for built-in cabinetry. A slat divider is installed once and lives in the room for years, so the extra week spent confirming a sample in person is worth it before committing to an order.
For homeowners planning a divider alongside a wider renovation, it's also worth finalizing the floor and trim finish first, since it's far easier to source a wood slat divider to match an established floor than to try to match new flooring to a divider that's already installed. Full specs, finish samples, and the Build and Price tool for calculating slat count against wall width and ceiling height are available directly through PrimoPanels.
Matching a room divider to its surroundings isn't about finding a single "correct" finish — it's about picking blend or contrast on purpose, checking undertones in real light, and confirming with a physical sample before installation. Done deliberately, either strategy turns a wood slat divider into a permanent feature that looks like it was part of the room's original design.